

Before getting into the specific process of how to adjust your jump rope according to your height, it's important to understand why the correct jump rope length makes the difference.
Using a poorly adjusted jump rope can cause injuries, loss of efficiency, and premature cable wear.
▼ Index
Consequences of using a poorly adjusted jump rope
1. Injuries from incorrect rope adjustment
Studies (Drews et al., 2020; Franchini et al., 2022; International Journal of Sports Physical Therapy, 2021) show that the most common injuries when skipping rope affect the lower limb, especially the calves, Achilles tendon and ankles.
Excessive volume or a poorly adjusted rope can cause overloads or tendinopathies, especially in the posterior leg musculature. If the rope is too short, it forces you to jump with less margin and can increase the risk of minor trips or sprains.
2. Loss of energy efficiency
When the rope is too long or too short, each jump becomes more costly. You'll have to raise your arms more, flare your elbows or jump higher to compensate, which translates into greater energy expenditure and less control.
Over time, this creates an inefficient mechanics during training, loss of rhythm and premature fatigue. Properly adjusting your rope means jumping with fluidity and less effort, achieving better results.
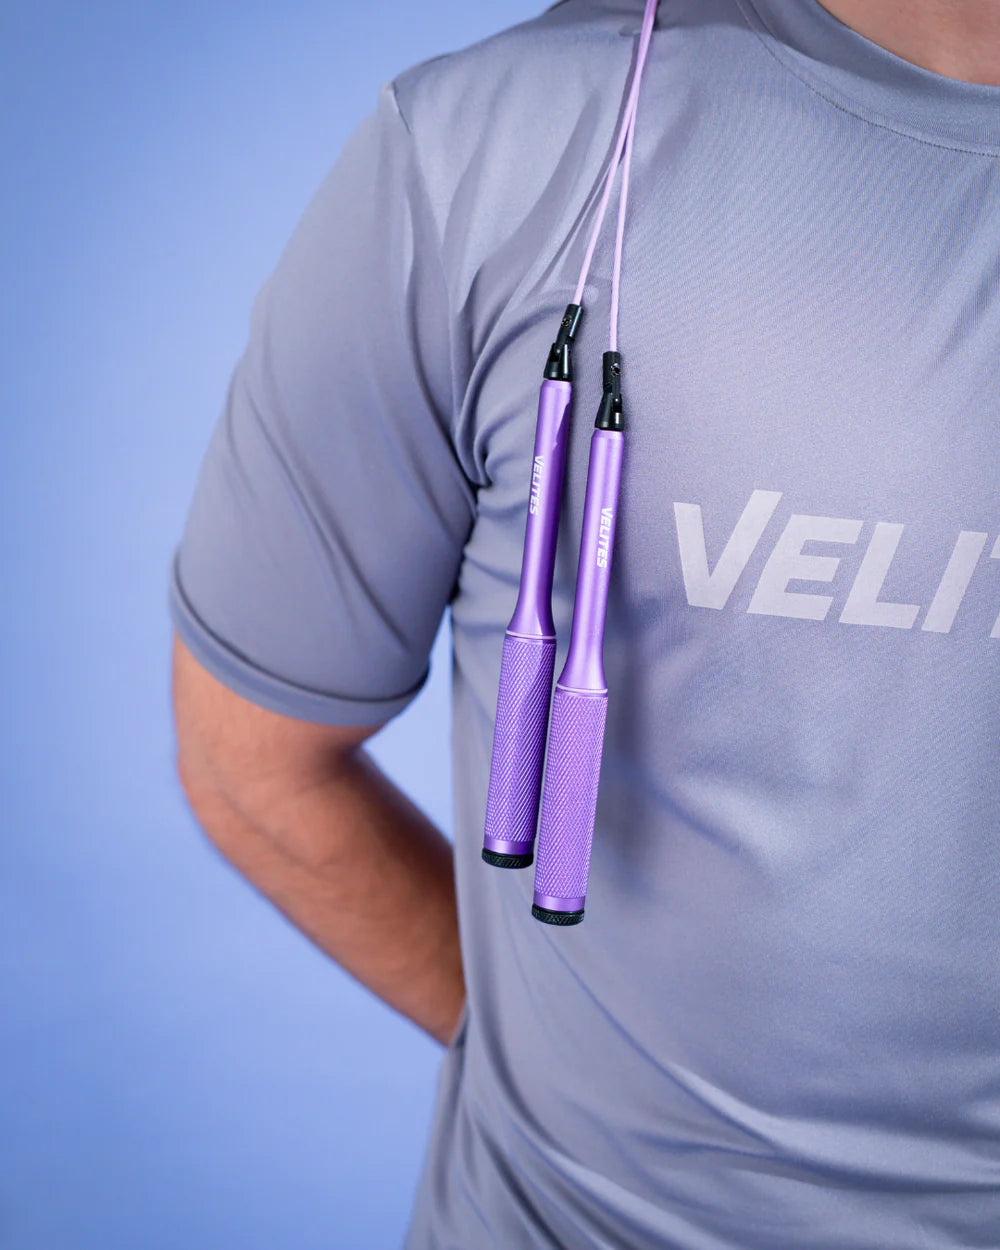
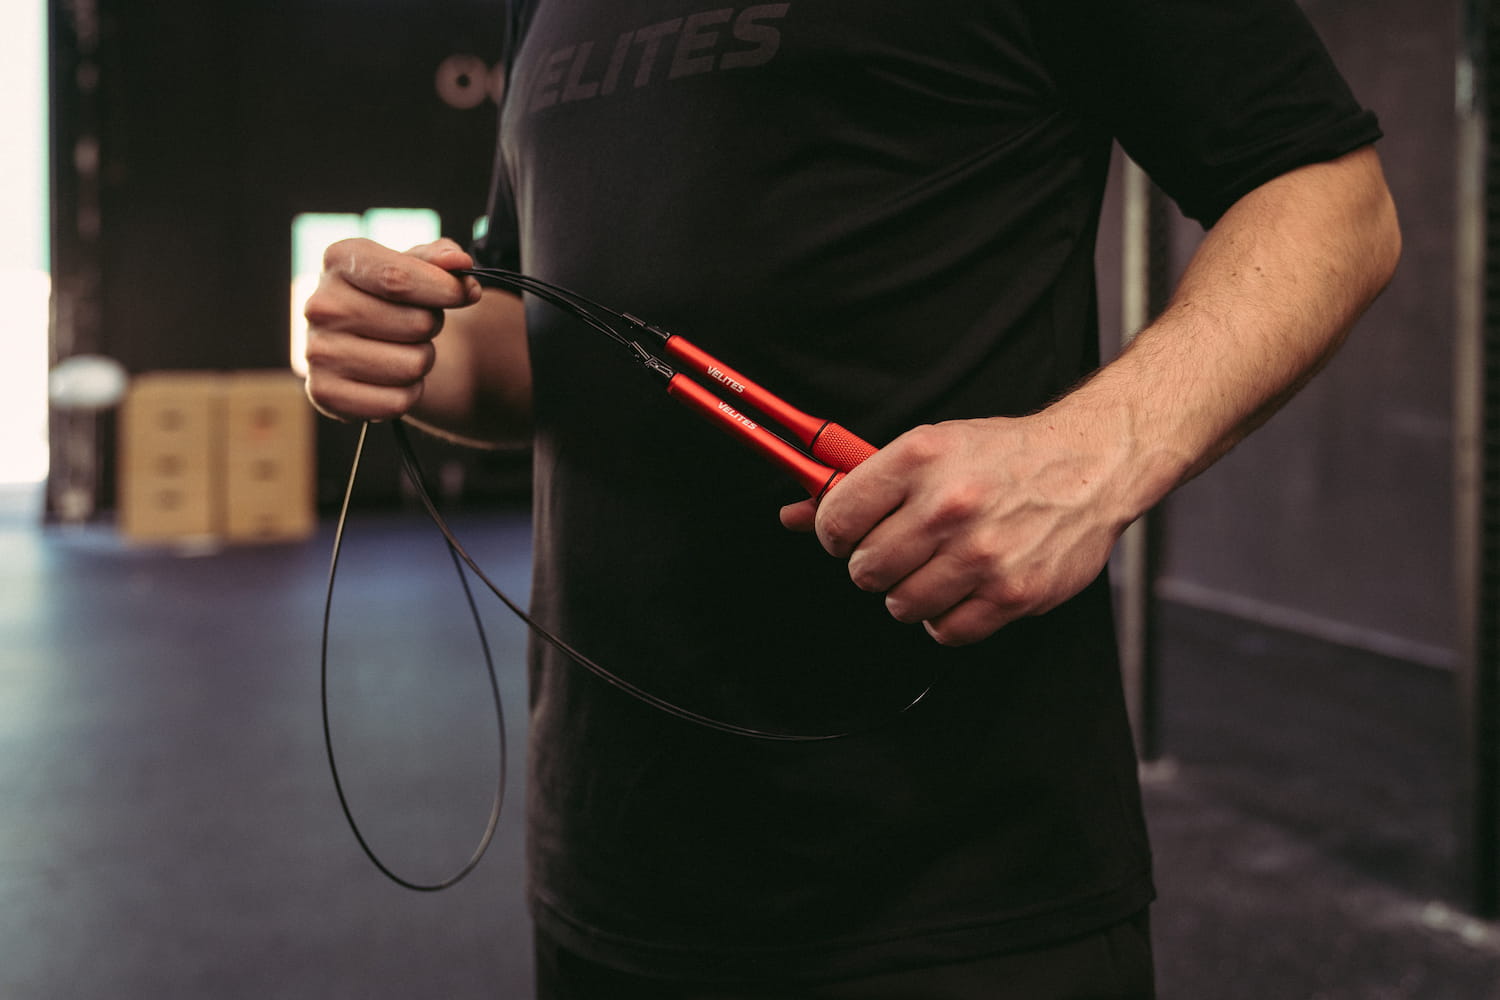
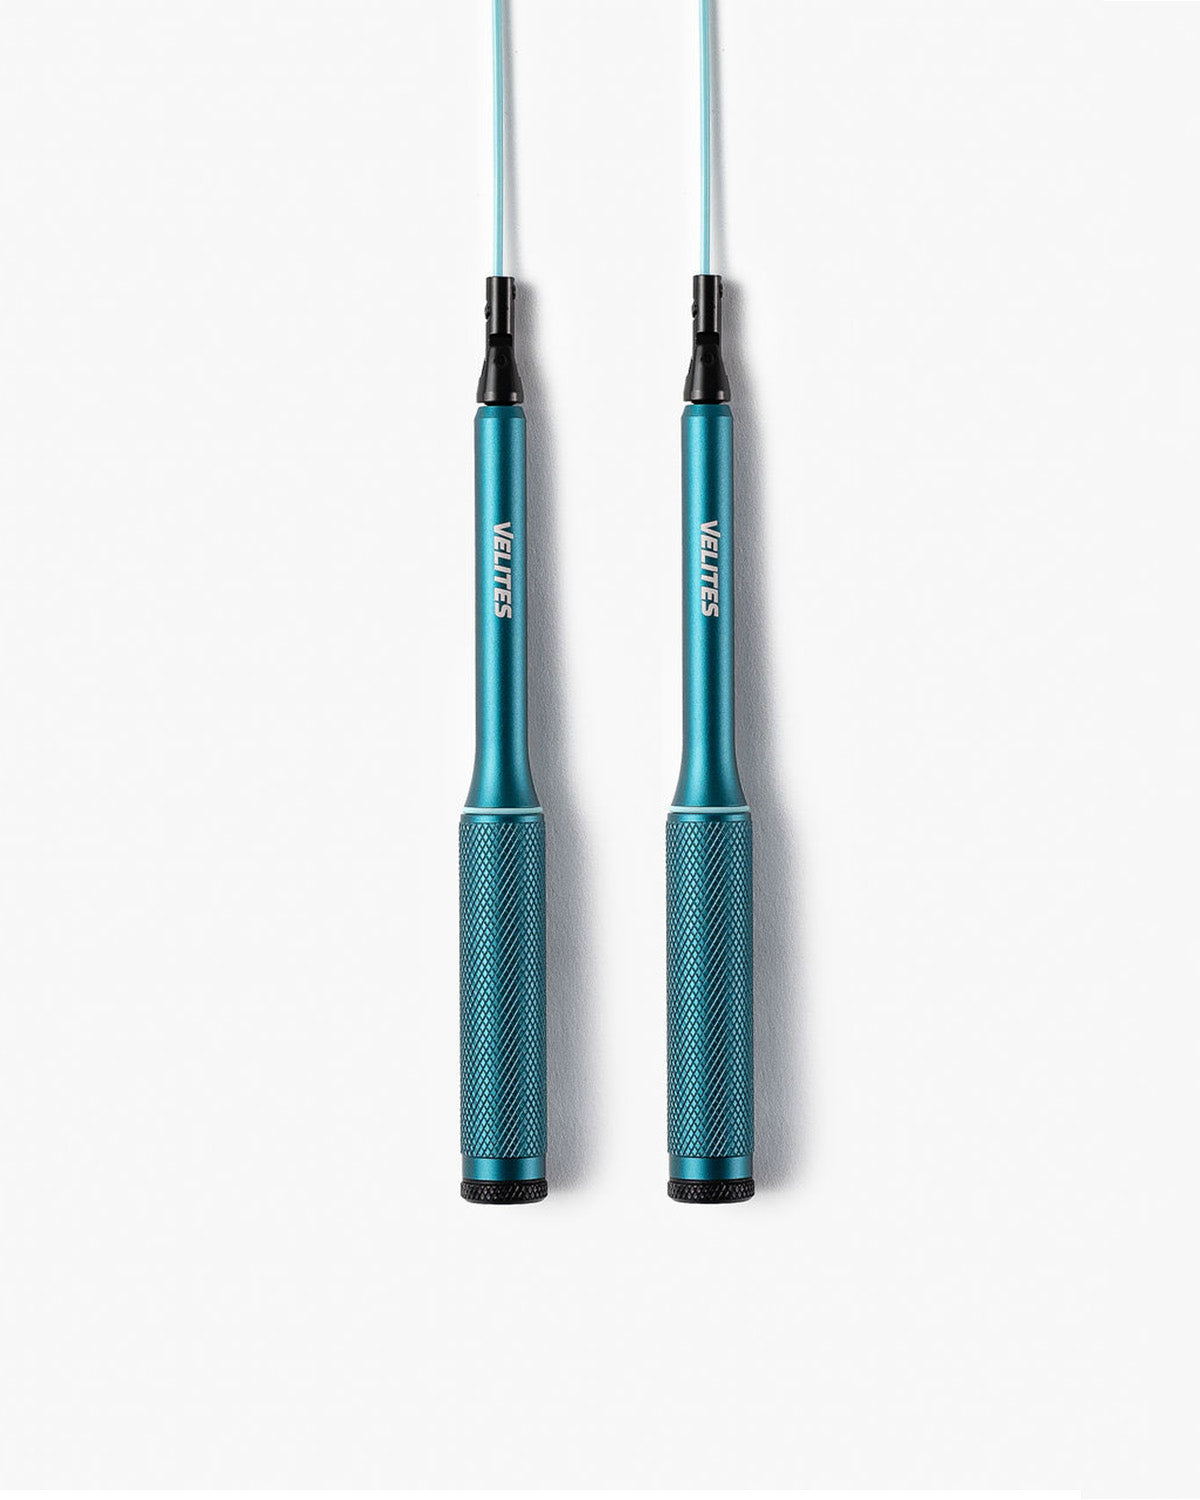
For that reason, we recommend a rope specially designed for double unders, like the Fire 2.0 from Velites, and if you want to move to a higher level try the weight pack plus cables.
6 colors available

3. Rope wear and maintenance
A rope longer than necessary strikes the floor with more force on each repetition. That constant friction causes accelerated cable wear and, in the long run, higher spending on replacements.
Also, if the cable wears irregularly, the friction can alter the spin and also affect the athlete's technique.
This ultimately translates into economic expense on replacements and accessories, often unnecessary or that could have been significantly delayed.
Once the main consequences that a poor rope adjustment can cause have been analyzed, we show you the different ways to correctly adjust your jump rope.


6 colors available
SEE ALSO: 10 CrossFit Routines That Will Make You Even Stronger
How to adjust your jump rope correctly
After having analyzed the main consequences of incorrectly adjusting your ropes, we will now show you the different ways to do it correctly.
A) Adjust the jumpropeaccording to your body height
This technique to adjust the cable length is very simple. You only have to measure your height (for example, 1.80 meters) and multiply that figure by 1.5.
Cable length = Height x 1.5

Thus, for a person of 1.80 m, the ideal cable length will be 2.70 meters ($1.8 \times 1.5 = 2.7\text{ m}$).
Keep in mind that this measure always excludes the length of the handles.
B) Handles-to-shoulder technique
Another technique you can use consists of holding the handles on your shoulders in an upright position, while stepping on the rope with one of your feet keeping the leg fully straight.
The lower edge of the rope handles should match exactly the top boundary of your shoulders. The following figure shows this adjustment process in detail.

C) Technique at chest height (Nipple technique)
Finally, we present the method we recommend to adjust both your own ropes and any other. It is the most effective method and, in my opinion, the one that offers the most precision.
Simply step on the rope as in the previous case and bring the handles up to the chest (nipple) height on the same side as the foot you are stepping on the cable.
The following diagram shows the process.

You have seen three techniques you can use and all of them offer similar results to obtain the correct cable length.
Remember that, if you are a beginner, you can increase the distance of any of the three methods by 2 and 5 cm, no more. This will help you better assimilate the technique, especially if it's the first time you attempt the double unders or other complex movements.
A longer cable length will give you the option to reduce it gradually to the ideal measurement as you gain experience.
If you want to improve your double unders, you should try our rope Fire 2.0 and choose the color you prefer.
6 colors available
In summary.
Properly adjusting your jump rope will allow you to:
- Avoid injuries in calves, ankles and knees.
- Jump with greater fluidity and lower energy expenditure.
- Prolong your rope's useful life.
- Improve your technique and speed progressively.
When the rope adapts to you, each jump feels more natural, more controlled and faster.
SEE ALSO:

Leave a comment
This site is protected by hCaptcha and the hCaptcha Privacy Policy and Terms of Service apply.